Previous page Home Building an Irish bouzouki -- day 3 Next

<< | 1 | 2 | 3 | 4 | 5 | 6 | 7 | 8 | 9 | 10 | 11 | 12 | 13 | >>

Day three

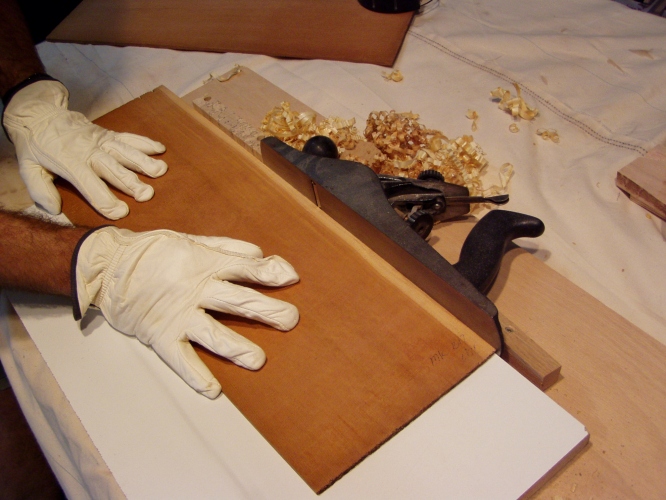
16. Planing the soundboard.
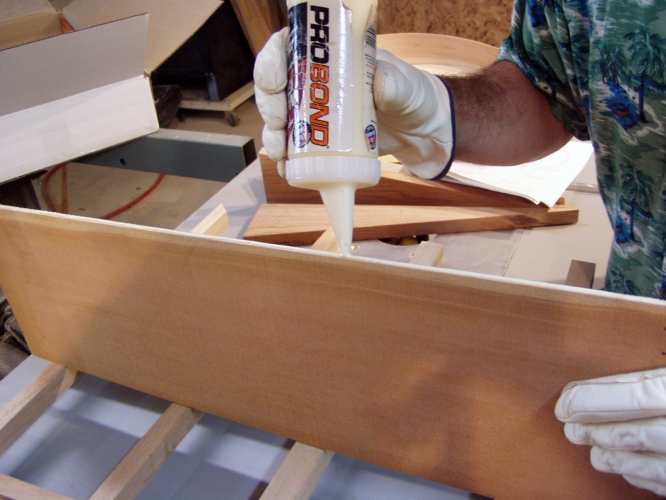
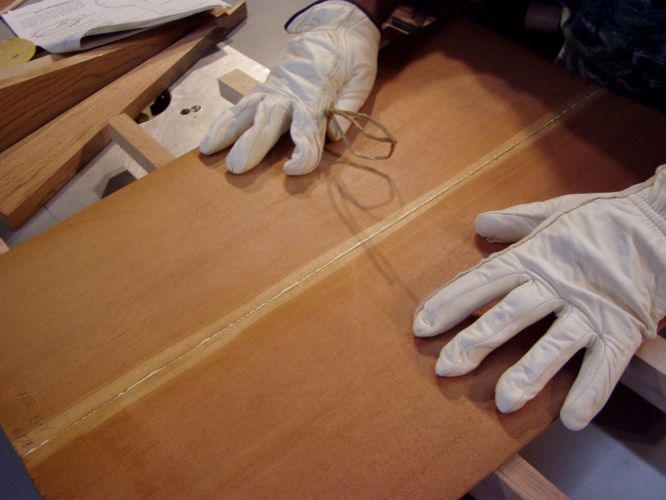
17. Gluing the soundboard.
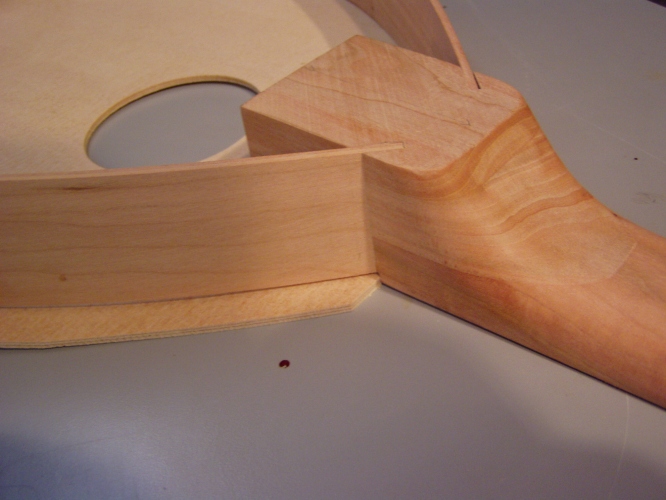
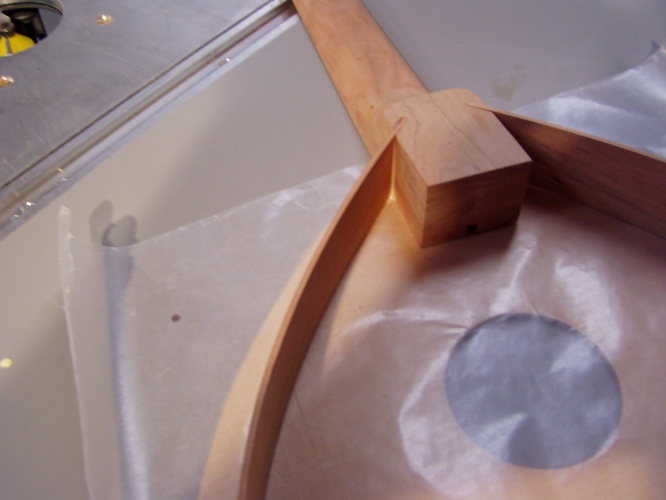
18. Fitting the sides into the neck.
19. Gluing the sides into the neck.
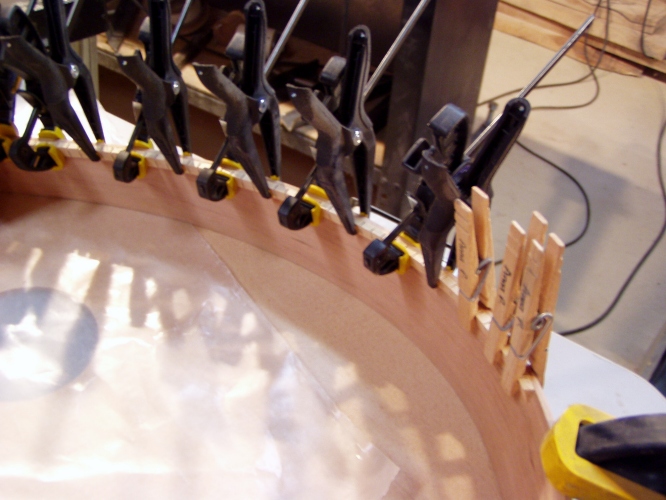
20. Gluing and clamping on the kerfed lining strips.


Harmon's Notes:
Since we're deviating from the instructions and making solid tops from spruce and cedar, I had to make a jig to joint the thin edges of the cedar (shown). We used a standard 'Mexican' jig which I made to glue up the top. Thanks to Michael K. for the advice on this. The result was excellent, straight, and tightly glued. The jig was decidedly low-tech: some wood scraps, wax, and twine!

When we glued the sides into the neck, we gently clamped the whole top of the instrument to a very flat surface, this helped a lot later. We use the original top as the spacer, with some wax paper as recommended in the instructions. Our tops were a few thousandths thicker so this set-up was perfect. In the last pic you can see where we used stiffer clamps where we could to glue on more kerfing.


Previous page Home Building an Irish bouzouki -- day 3 Next