<< |
1 |
2 |
3 |
4 |
5 |
6 |
7 |
8 |
9 |
10 |
11 |
12 |
13 |
>>
Days nine and ten |
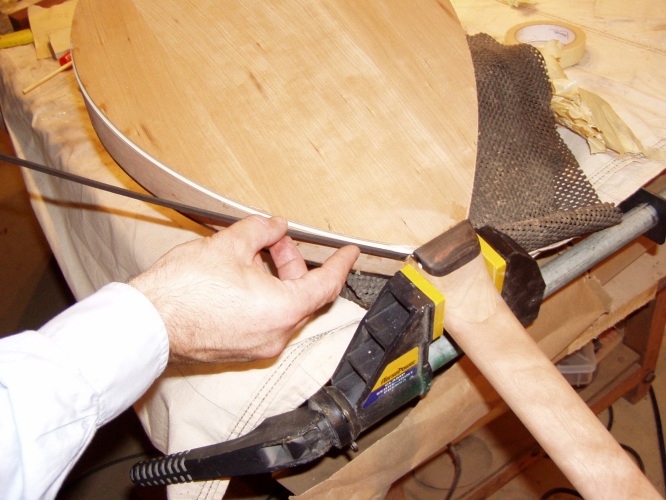 | 50. Fit the binding to fit into the neck heel. |
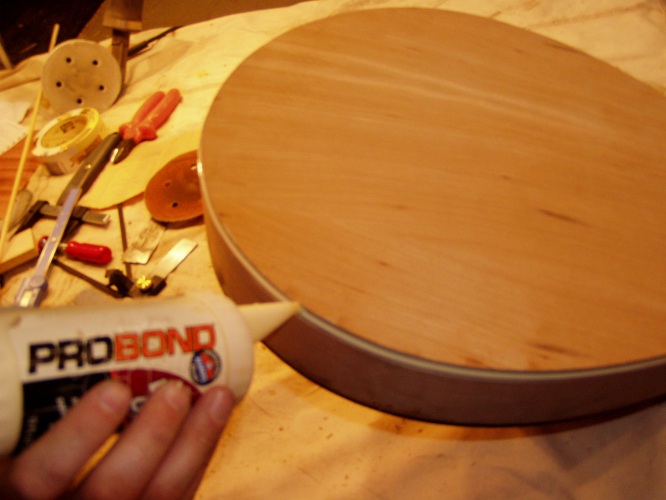 | 51. Gluing in the binding. |
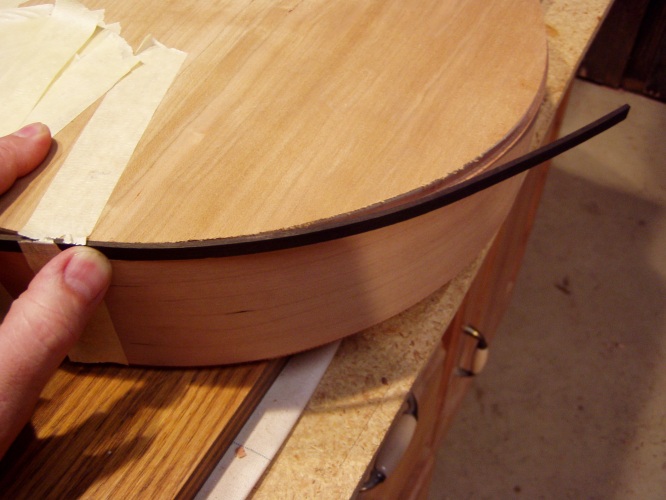 | |
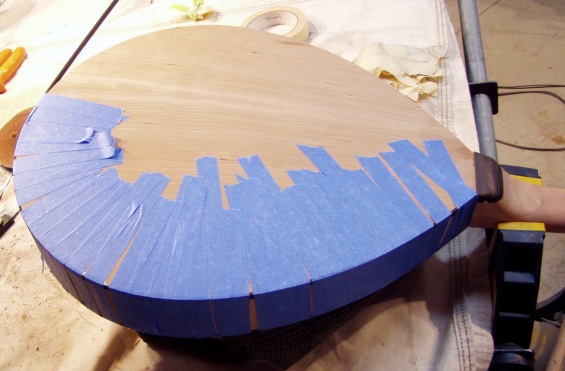 | 52. We switched to medium adhesion masking tape
because regular masking tape pulled off some wood fibers. |
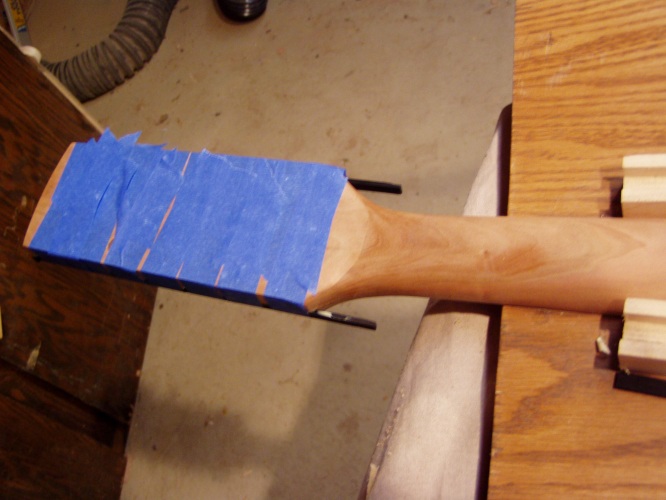 | 53. Binding the peghead too. |
Harmon's Notes:
Again, custom work not required by the kit. But in case you do this, you have to heat the ebony strips
to get them to bend properly. If they are less than .060, you may not need to; ours were .080 or so,
so we used a heat gun to warm them up as we glued them on. You can boil or steam them too. As mentioned
above, we switched to lower adhesion masking tape, but even this pulled some cherry fibers off the back,
so go slow!
Joe's comments:
The ebony strips were easier to work with than I expected, but this design of
instrument doesn't have any tight curves. Look over the pieces carefully before
deciding which corner to expose.
Plastic binding material is cheaper and probably easier to work with, but we really love the look
of the natural wood, and liked the aesthetics of the matching woods.


